In this tutorial, I 'll make a photo manipulation of the emotional scenes of grief , foggy background with desaturated shades to add a sense of loss or sadness in the photo
 Ingredients
Model
background
Couple ( or you could find the others )
Roses
Cloud
City
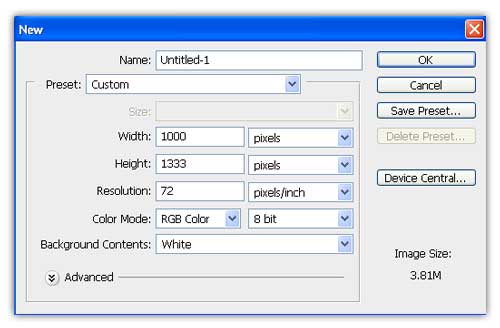
Create a new worksheet with the size Width 1000, Height 1333
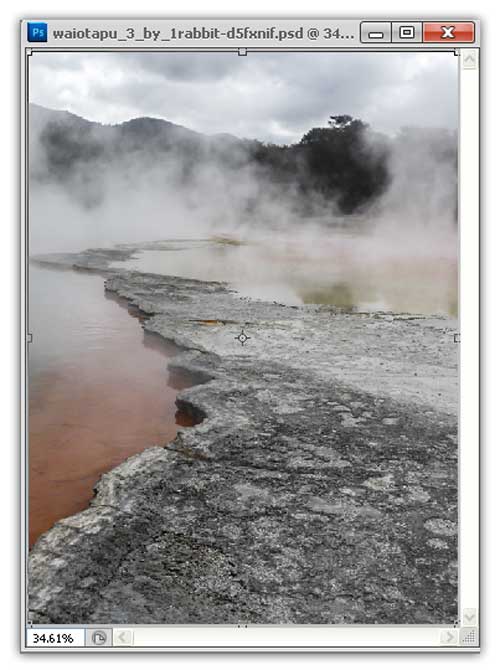
Drag the Background to the worksheet
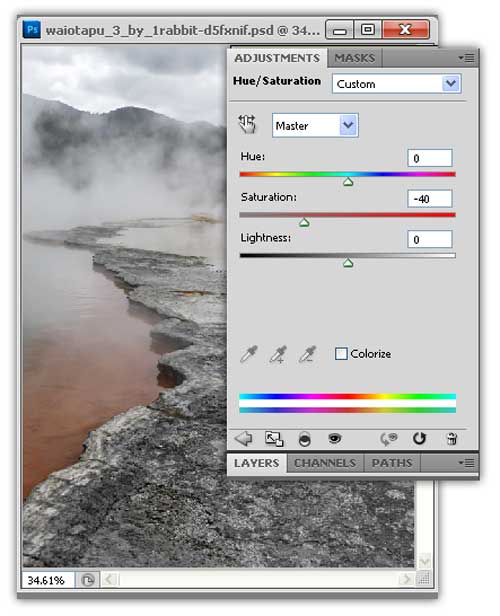
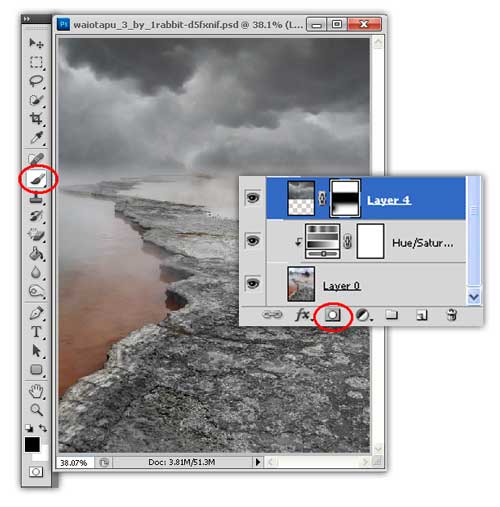
Add a Hue / Saturation by way Layer - New Adjustment Layer - Hue Saturation , Saturation fill At -40
Furthermore Drag cloud into a worksheet , as shown in the picture below
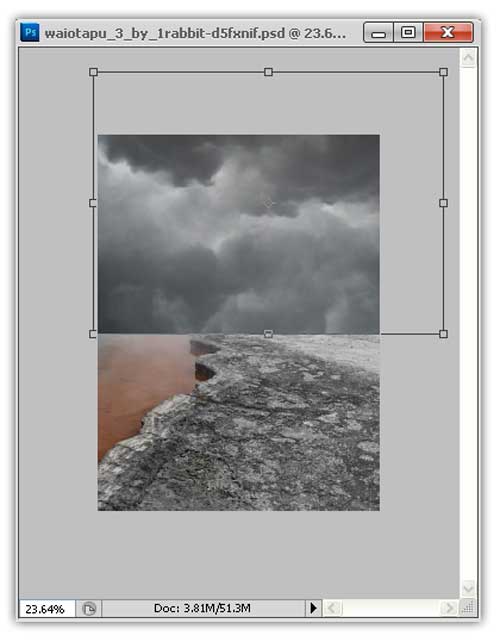
Still active in the cloud layer , click Add Layer Mask and use a brush to remove the bottom of the cloud , graphic below will clarify at this step
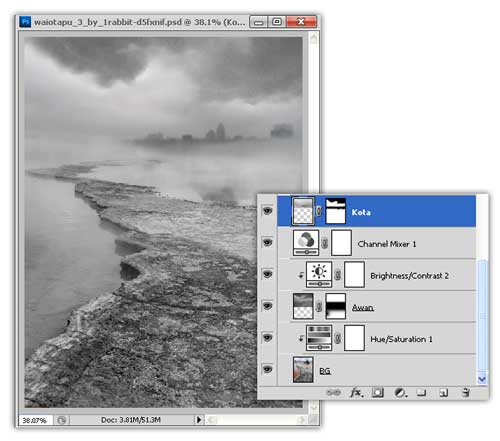
Layer – New Adjusment Layer – Brightness/Contrast

Layer – New Adjusment Layer – Chanel Mixer

The result will look like the image below

Drag the image of the city to a worksheet
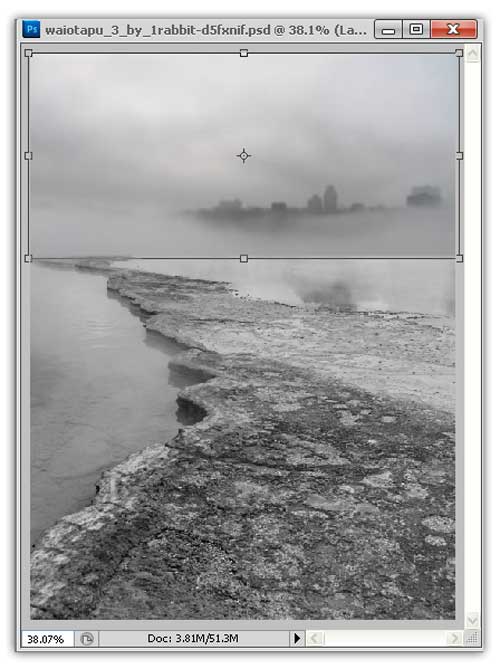
Just like the previous step , Add layer mask and brush brush to hide most of the city's image , and the result will look like this
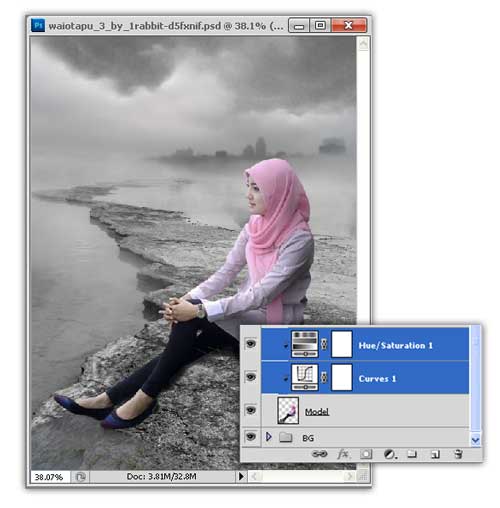
Furthermore Put pictures of models , this time the model has been my exhaust bacgroundnya , who do not understand how to eliminate the background in the photo I've never written before click here , and for how to brighten photos click here
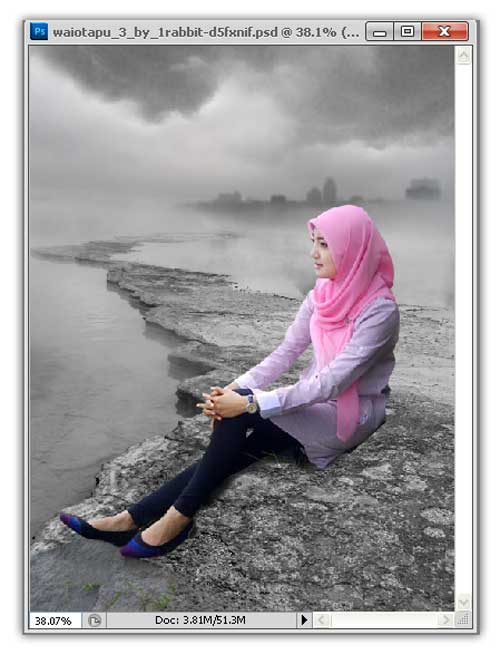
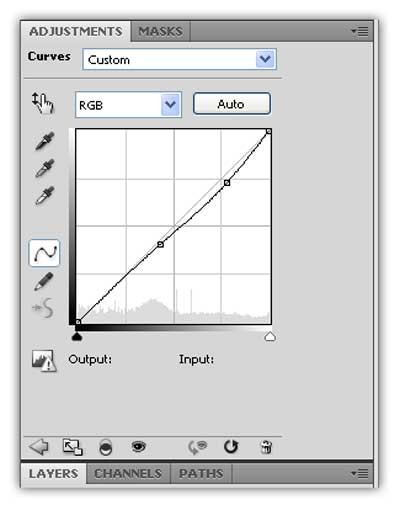
Layer – New Adjusment Layer – Curves
Layer – New Adjusment Layer – Hue/Saturation

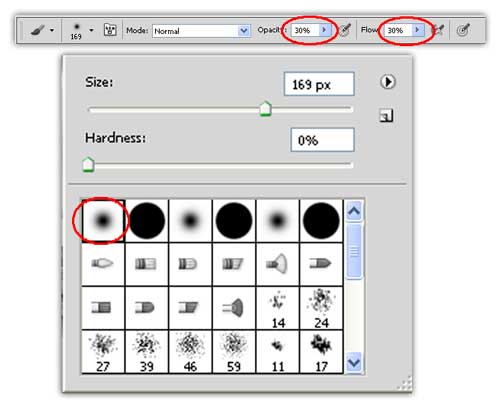
Furthermore, we will make bayangang , create a new layer , use the Brush in black , set Opacity and Flow 30
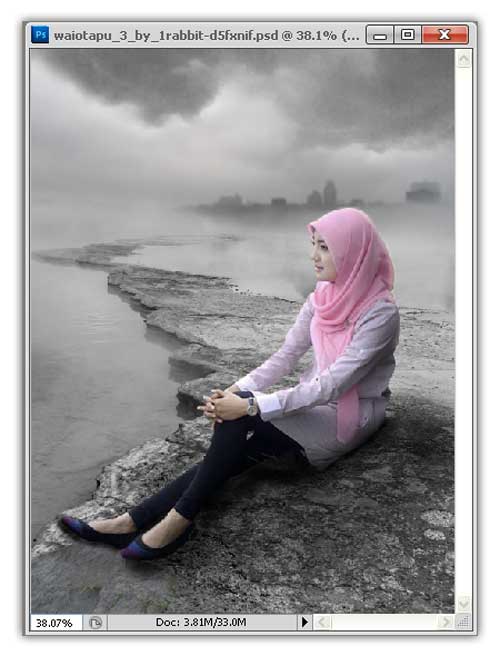
Brush Brush that will produce images like this
Quite condition tutorials Photo Manipulation In Photoshop , all else exactly like steps on the model , Couple removed the background , Adjust Hue / Saturation and let the shadows by using Brush , So is the red rose , so the final result will look like the image below ,
This information Photo Manipulation With Photoshop , may be helpful information for you . If you have questions regarding photoshop tutorial above , you can contact us at the contact menu on this website . Thank you for visiting lectures and read all about the design .
IngredientsModel
background
Couple ( or you could find the others )
Roses
Cloud
City
Create a new worksheet with the size Width 1000, Height 1333
Drag the Background to the worksheet
Add a Hue / Saturation by way Layer - New Adjustment Layer - Hue Saturation , Saturation fill At -40
Furthermore Drag cloud into a worksheet , as shown in the picture below
Still active in the cloud layer , click Add Layer Mask and use a brush to remove the bottom of the cloud , graphic below will clarify at this step
Layer – New Adjusment Layer – Brightness/Contrast
Layer – New Adjusment Layer – Chanel Mixer
The result will look like the image below
Drag the image of the city to a worksheet
Just like the previous step , Add layer mask and brush brush to hide most of the city's image , and the result will look like this
Furthermore Put pictures of models , this time the model has been my exhaust bacgroundnya , who do not understand how to eliminate the background in the photo I've never written before click here , and for how to brighten photos click here
Layer – New Adjusment Layer – Curves
Layer – New Adjusment Layer – Hue/Saturation
Furthermore, we will make bayangang , create a new layer , use the Brush in black , set Opacity and Flow 30
Brush Brush that will produce images like this
Quite condition tutorials Photo Manipulation In Photoshop , all else exactly like steps on the model , Couple removed the background , Adjust Hue / Saturation and let the shadows by using Brush , So is the red rose , so the final result will look like the image below ,
This information Photo Manipulation With Photoshop , may be helpful information for you . If you have questions regarding photoshop tutorial above , you can contact us at the contact menu on this website . Thank you for visiting lectures and read all about the design .

0 Comments